
Once you have modified a View by inserting new fields, expanding or reducing the length of existing fields, or deleting existing fields, the Restructure Table option will restructure the data accordingly. If you have expanded a date field to accommodate the century by changing a field’s format from YY to YYYY, the following rules apply:
- If the value of YY is 82 or greater, the field will be converted to 19YY.
- If the value of YY is less than 82, the field will be converted to 20YY.
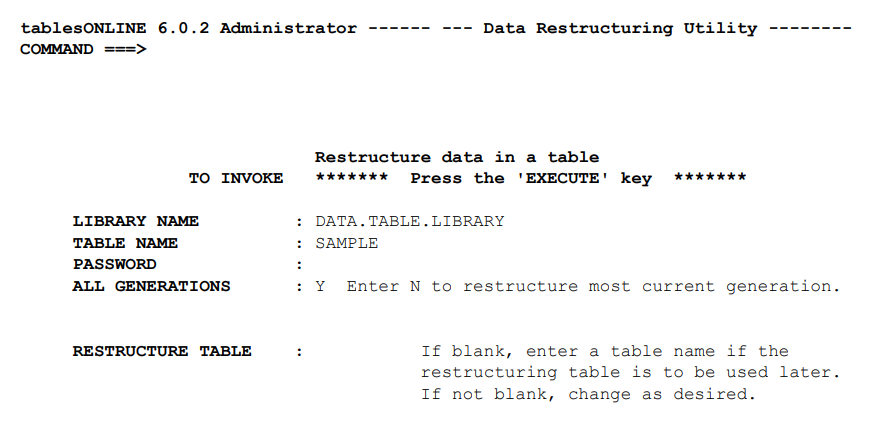
When this screen is displayed, the library name and table name will already be inserted based on the View you have just edited. If the table is password protected, you must supply the write password before this operation can be performed. You may also specify whether you want to restructure all generations of the table or only the current generation using the All Generations field. The default value for this field is Y to restructure all generations.
If you do not wish to restructure the Data Table associated with the modified View immediately, you may insert a restructure table name to identify the restructure table so that it may be used at a later date. Inserting a name in the Restructure Table field will create a table containing the rules required by tablesONLINE to restructure your Data Table at a later date.
Once you have completed these fields in the Data Restructuring Utility screen, press <PF2> to initiate the restructuring process.
Using a Saved Restructure Table
To use a saved Restructure Table to restructure a Data Table, select option 7-RESTRUCTURE TABLE from the Define Table and View menu. This will open the Data Restructuring Utility screen. Insert the name of the library containing the table to be restructured, the name of the table to be restructured and the write password for that table, if there is one. You must, once again, indicate whether you wish to restructure all generations of the table or only the most recent. Finally, insert the name of the saved Restructure Table and press <PF2>. This will restructure the data in your table to accommodate the new row layout. This process should be repeated for all Data Tables associated with the modified View.