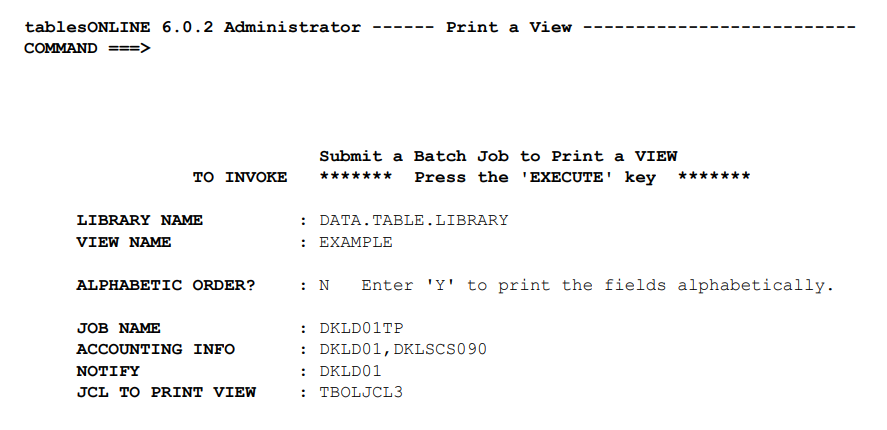
Table 165 provides a description of the fields of the Print View screen.
|
Field Name |
Usage Description |
|---|---|
|
Library Name |
Insert the name of the library where the View is kept. You may also enter a number from 1-7 to select a relative library number, a DDNAME, or a full dataset name. Pressing <PF1> in this field will display a list of all authorized libraries. |
|
View Name |
Insert the name of the View for which you wish to create a copybook. Pressing <PF1> in this field will display a list of all authorized Views. |
|
Alphabetic Order ? |
If you wish the fields defined in the View to be printed in alphabetic sequence enter Y. The default sequence, or N, is to print the fields in the sequence in which they appear in the View. |
|
Job Name |
This field contains the job name that will appear on the job statement of the batch job to print the View. |
|
Accounting Info |
This field contains the accounting information that will appear on the job statement of the batch job to print the View. |
|
Notify |
This field contains the notify (User-ID) that will appear on the job statement of the batch job to print the View. |
|
JCL To Print View |
This is the name of the table that contains the skeleton JCL to be submitted to the internal reader to print the View. The table that is delivered for this purpose is TBOLJCL3. It can be modified for your own installation. |