
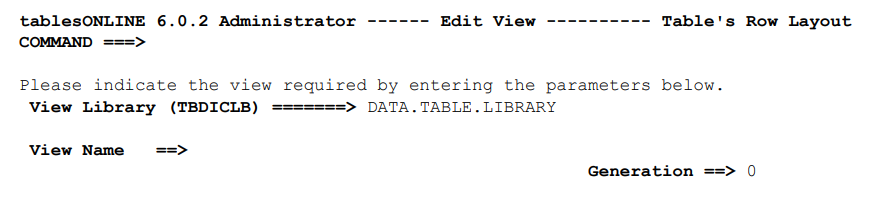
When you choose to define a new View, the first screen displayed when you select the Define View option on the Main menu allows you to specify the name of the new View and the library where you want that View to be stored Figure 134.
To create a new View, insert the name you wish to assign to the View in the View Name field and the name of the library where you wish that View to be stored in the View Library field and press <Enter>. Both the View name and the library name will initially be set to default values based on the last table and library you used in tablesONLINE. If the information in these fields is correct, leave it as it is; if not, make the necessary changes to the fields.
tablesONLINE checks to ensure that a View with this name does not already exist in the library and asks you to confirm that you wish to create a new View. Do so by inserting NEW in the command line and pressing <Enter>.
tablesONLINE moves you to the Edit-Row screen (see Figure 135) where the fields that will make up the table can be defined. The next section, Define Fields in a View, describes how to define table fields.